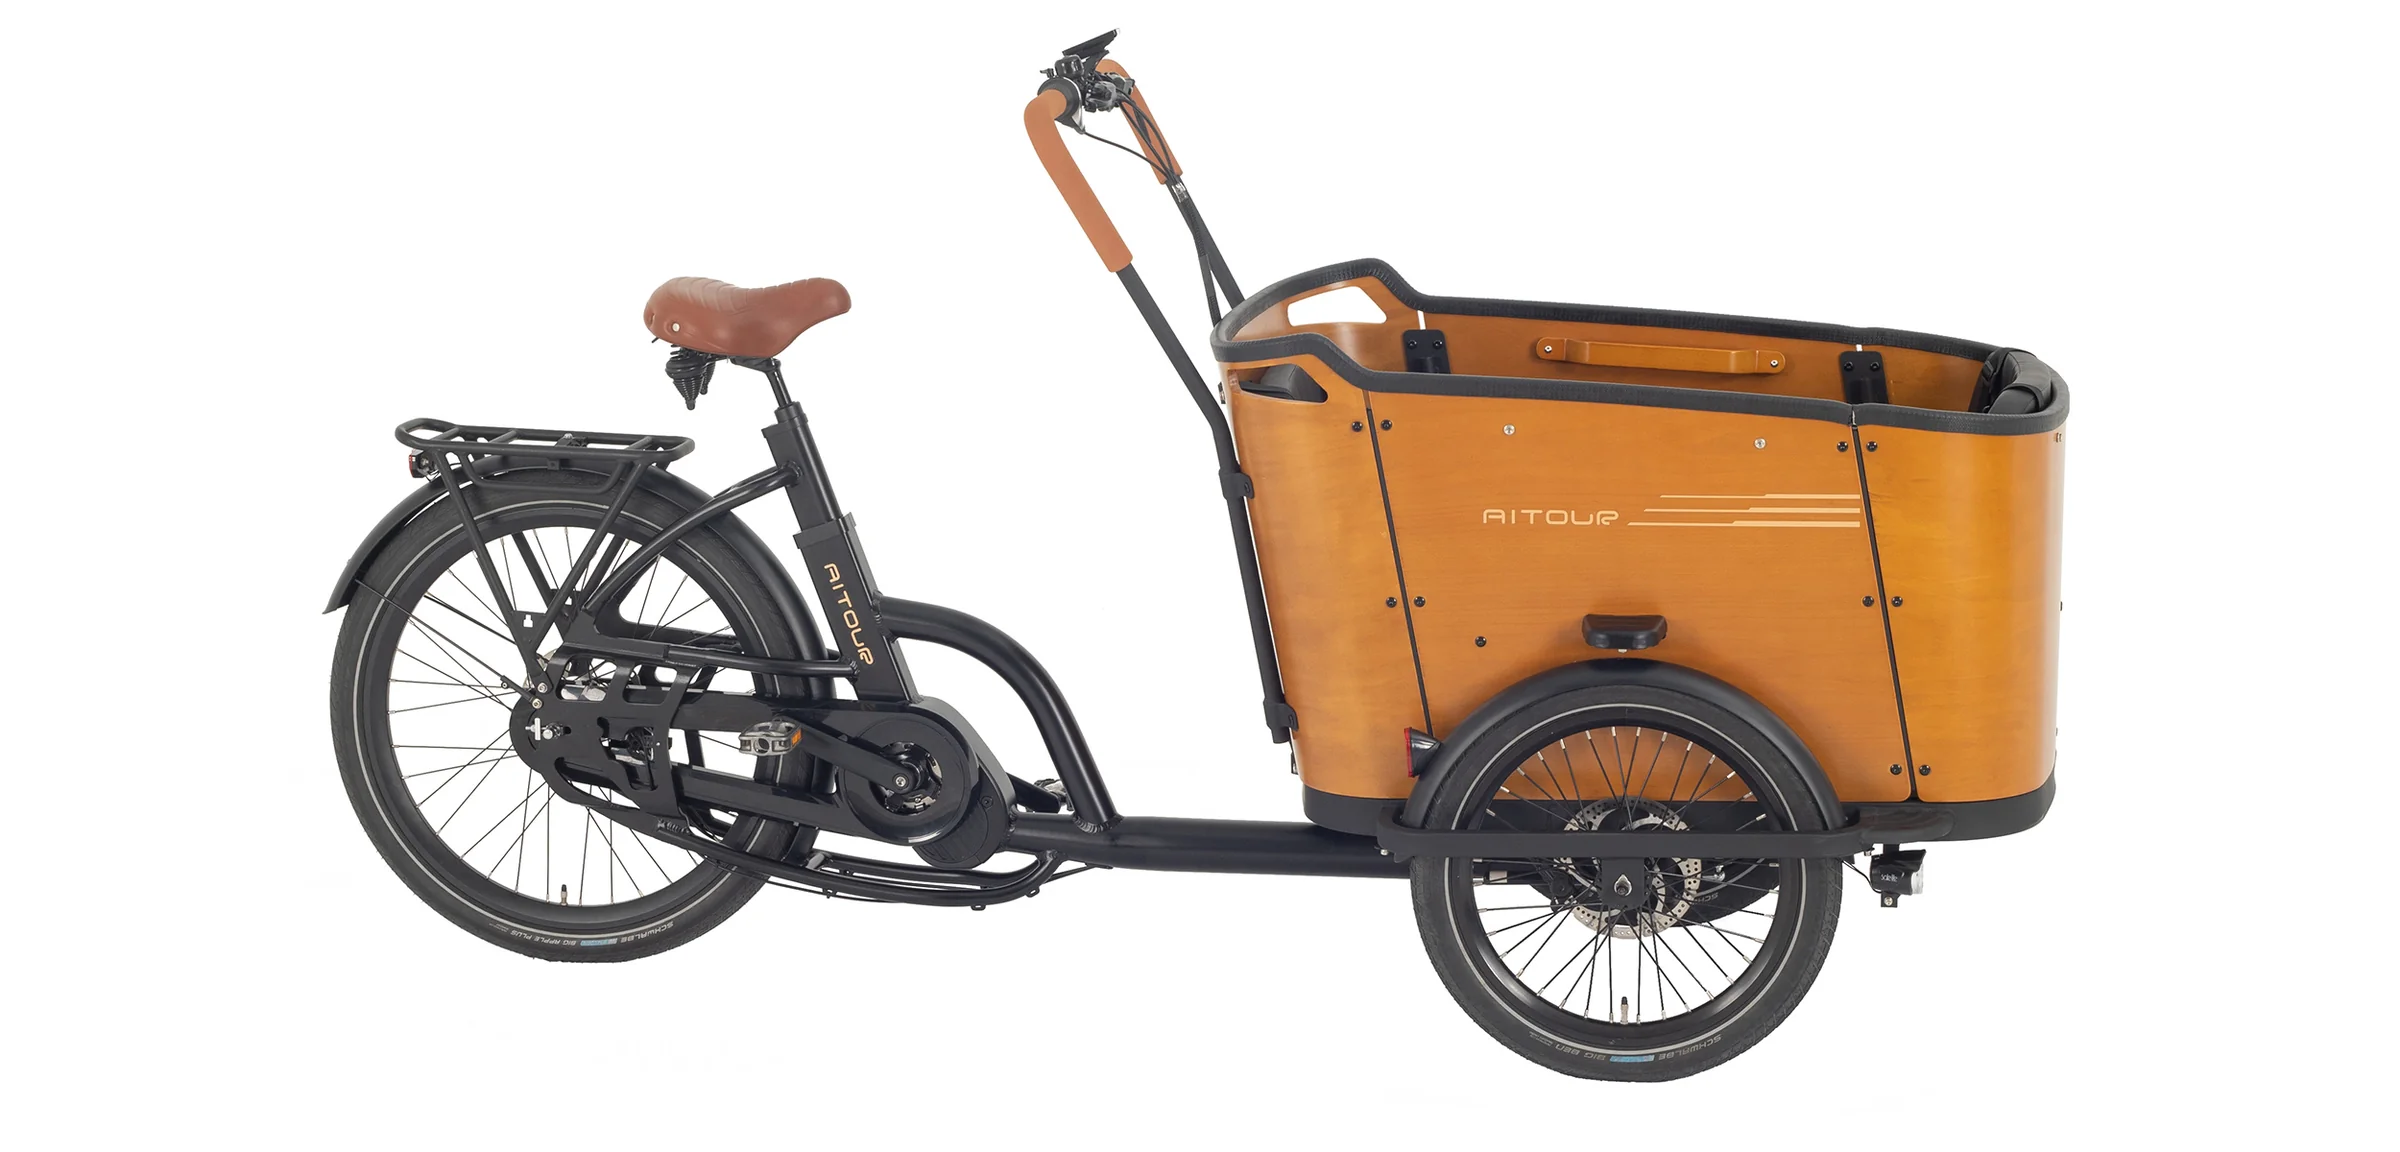
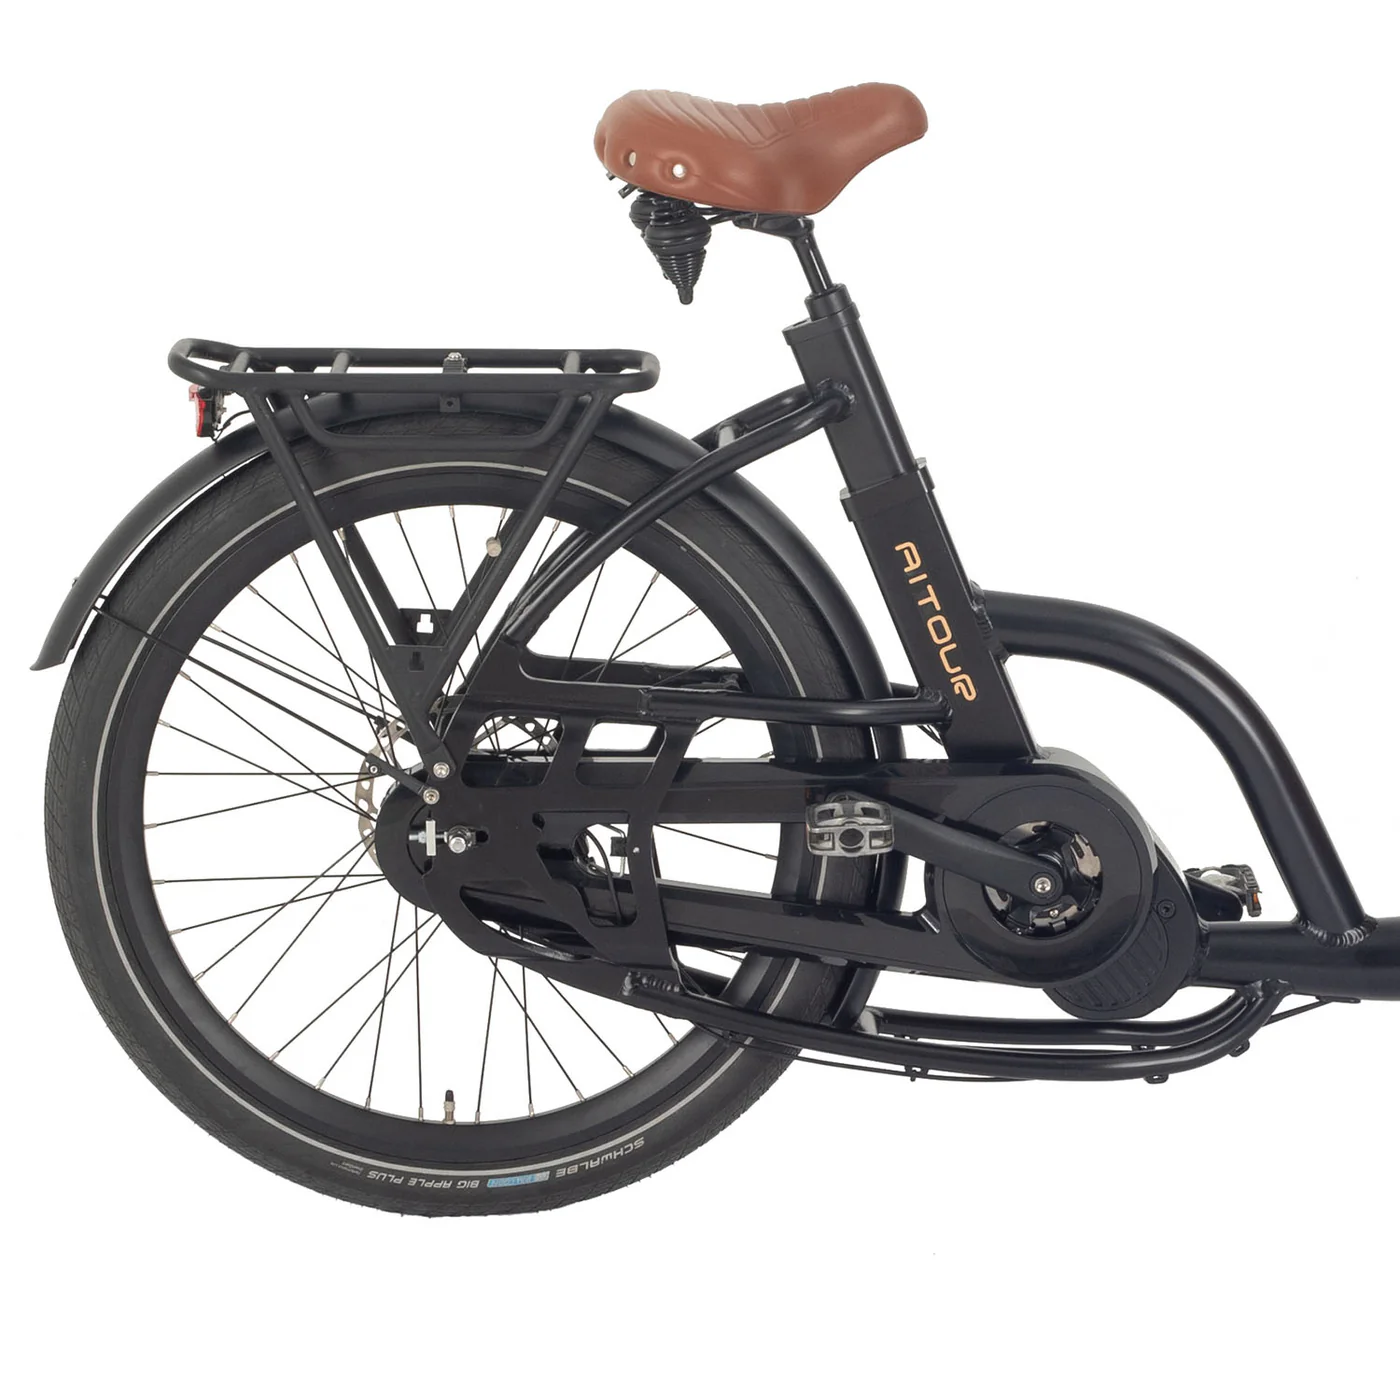
Shimano nexus 7 hub
2 years of warranty
you have a two-year right of complaint. Therefore, remember to
save your proof of purchase or invoice.
According to the Consumer Act, the right to complain applies to
faults that may occur in the electric bicycle’s material and/or its
production. However, the right to complain does not apply to wear
and tear or faults that have arisen due to incorrect operation of the
product or wear and tear.
Parts such as brake pads, crankcases, LEDs/bulbs, tires, batteries,
chain as well as elastics and zips on canopy etc. will wear out over
time and must therefore be replaced on an ongoing basis in order
for the electric bicycle to function properly. Therefore, you must
expect to spend money on maintenance and adjustment of the
mechanical parts.
You also get a 5-year guarantee for frame breakage.
Unique about the electrical parts and the batteries
The electrical parts are covered by a warranty against manufacturing
defectsfor 12 months from the date of purchase.
Battery capacity decreases over time. The more you use the electric
bike, the less capacity and thus the range decreases.
Over time, you can expect the capacity to decrease by 30-40
percent. Also be aware that periods of low temperatures negatively
affect both the battery’s capacity and performance. Note: Use only
an original charger!
It is also worth noting thatthat there are a number of factors that
have a major impact on how far the electric bicycle can travel.
These are aspects such as the total weight of the vehicle, how you
drive, where you are driving and how much you yourself help to step
on the pedals (see pp. 17-21 for additional information on optimal
battery use).
In normal use, your battery has a lifespan of up to 500 cycles
(charges and discharges).
Battery test
Do you find that yourbattery is defective or has deteriorated in
performance, we can carry out a test of the battery’s functionality.
This test givesus analysis data that shows whether the battery has
been neglected, which includes that it has been improperly stored
or used. It is also if it has been exposed to cold or hot temperatures
that are lower or higher than recommended and how many charge
cycles the battery has gone through in total.
If, on the other hand, the battery has had a congenital
manufacturing defect, the warranty covers up to 12 months from
the date of purchase.
8-step quick start guide
To make it extra easy for you to set out on your adventure, we
have created an 8-step guide here. After check the guide,
everything will be explained in more detail, including what you
should pay special attention to.
1. Check if there is a battery on the e-bike
You can see the battery level on the display by holding the power
button for three seconds and looking at the icon at the top left. It
gives you an approximate picture of the battery life. The most
accurate is to see the battery life on the battery itself. Here you
remove the battery (see below and p. 16) in the charging case and
look at the indicator lights. Green diode lights indicate power, while
red indicates that it lacks power. Read more on p. 18.
2. How to charge the e-bike
If there is no power on the electric bicycle, you can charge it in one of two
ways
– directly in the electric bicycle or by removing the battery. If
charging the battery while it is mounted on the bike, it is charged
via the power socket on the back of the bike’s charging case. If you
want to remove the battery, you must unlock the battery
compartment, release the battery with the key on the left, then pull
the battery forward to the left, pick it up and unplug it. Read more
on p.19-20.
3. Starting the bike
Switch on the display by holding the power button for three
seconds. You then select an assistance level between 0 and 5 by
briefly clicking on the plus and minus buttons. If you need walk-
assist, hold the walk button for five seconds so that the bike runs
silently by itself. Remember that walk-assist switches off if you let
go of the button or if you squeeze one of the two hand brakes.
Read more on p. 12-14 and p. 28.
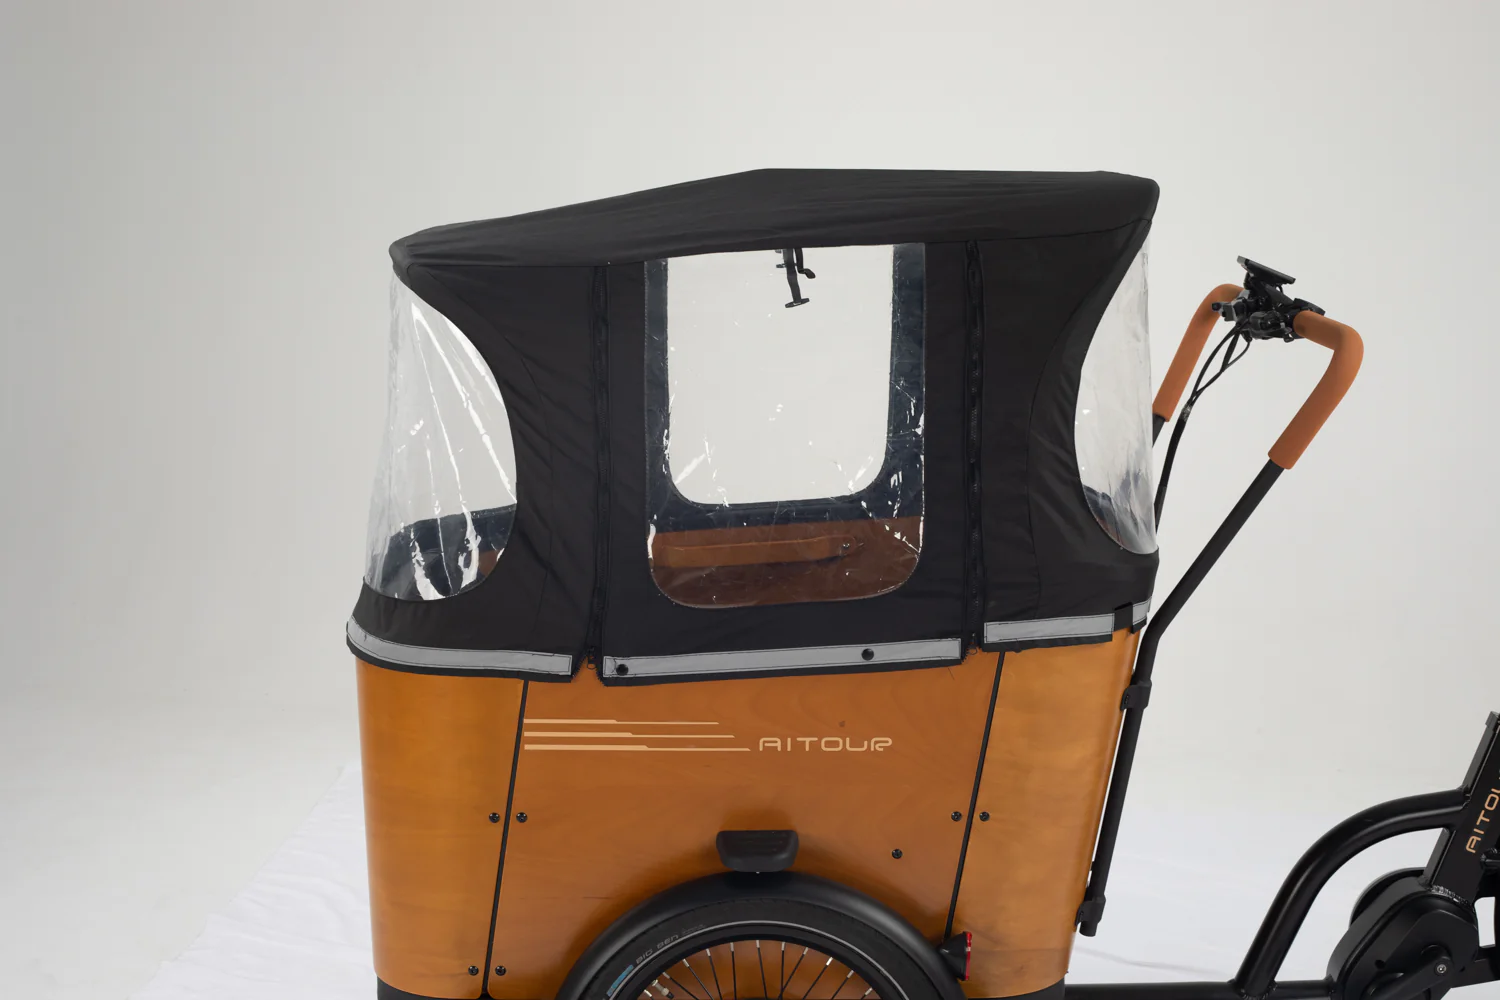
4. Fitting and removing Canopy and Canopy Pole
If you need to put the canopy on, it’s easy. Fix the canopy pole to
10the frame first. The canopy is then put on and secured with small metal
buttons. Read more P. 25.
5. Headlight and taillight
The lights are automatically turned on when you turn on the bike
and it is dark. Do you need to adjust the taillight brightness? Then
read more on p. 33.
6. Engine assistance
As soon as you turn the pedals, the bike’s motor automatically
starts to help you. How much it supports you depends on what level
of pedal assist is turned on. You change this on “plus” and “minus”
to the right of the display (up to max. 25 km/h). Read more on p.
12-14 and p. 28.
7. How to use the brakes
If you need to brake, you must use the handbrake on the left or
right side of the handlebars (there are no foot brakes). The one on
the left is connected to the front wheel, while the one on the right is
connected to the rear wheel. We recommend that you use both
brakes every time. Read more on page 28.
When you stop and switch off the bike, make sure that the bike is
completely stationary using the parking brake. You will find a
parking brake on each handbrake. There is a small split on them.
You hold the handbrake in and push in the small metal split – then it
is locked. Read more on page 33.
How to turn the bike on and off
You turn on the bike by holding down the switch button for 3
seconds (see no. 3 in the picture above). The screen is then
switched on and the power supply to the control unit begins.
You turn it off by holding down the switch button while the screen is
in boot mode. In this way, you switch off the power supply, so that
the screen no longer uses battery power, and the waste current is
less than 1uA.
What do the various icons on the display show?


Reviews
There are no reviews yet.